I have cooked on a lot of grills over the years, and I have ruined a lot of tools along the way. Not from using them hard, which is expected, but from leaving them dirty after a cookout. Grease bakes onto stainless steel and bonds with the surface. Then moisture gets in, rust starts, and inside of one off-season you have a set of tools that look like they spent a winter in a drainage ditch. I learned this lesson twice before it finally stuck.
The good news is that cleaning stainless steel grill tools correctly is not complicated. It takes maybe ten minutes after the grill cools. The ROMANTICIST 23-piece BBQ set I have been using for the past two seasons is the kind of tool set that rewards you for taking care of it. Solid stainless construction, real heft to the spatula and tongs, handles that do not wobble. But even the best stainless will corrode if you let grease and salt sit on it for weeks. This guide walks through exactly what I do, step by step, every time the cookout wraps up.
If your tools are already a mess, start fresh with a set worth protecting
The ROMANTICIST 23-piece BBQ set comes with heavy-duty stainless spatula, tongs, fork, and 20 more pieces, plus a carry case. Rated 4.7 stars by over 10,000 buyers. This is what Dale actually uses.
Amazon Check Today's Price on Amazon -> →Step 1: Let the Tools Cool Before You Touch Anything
This sounds obvious, but I have watched people plunge a hot spatula into cold water right off the grill. That thermal shock can warp thinner tools over time. It won't destroy a heavy-gauge piece like the ROMANTICIST spatula in one shot, but do it a few dozen times and you will start to notice the head sitting slightly off-level. Let everything come down to a temperature where you can handle it comfortably, which usually means fifteen to twenty minutes after you pull the last piece of meat off.
Use this cooling window to clean the grill grates while they still have heat in them. A wire grill brush works best when the surface is warm. By the time you are done with the grates, the tools are cool enough to handle. Now you have a natural rhythm: grates first, then tools, and nothing sits dirty overnight. It is a small shift in sequence that saves you a lot of scrubbing later.
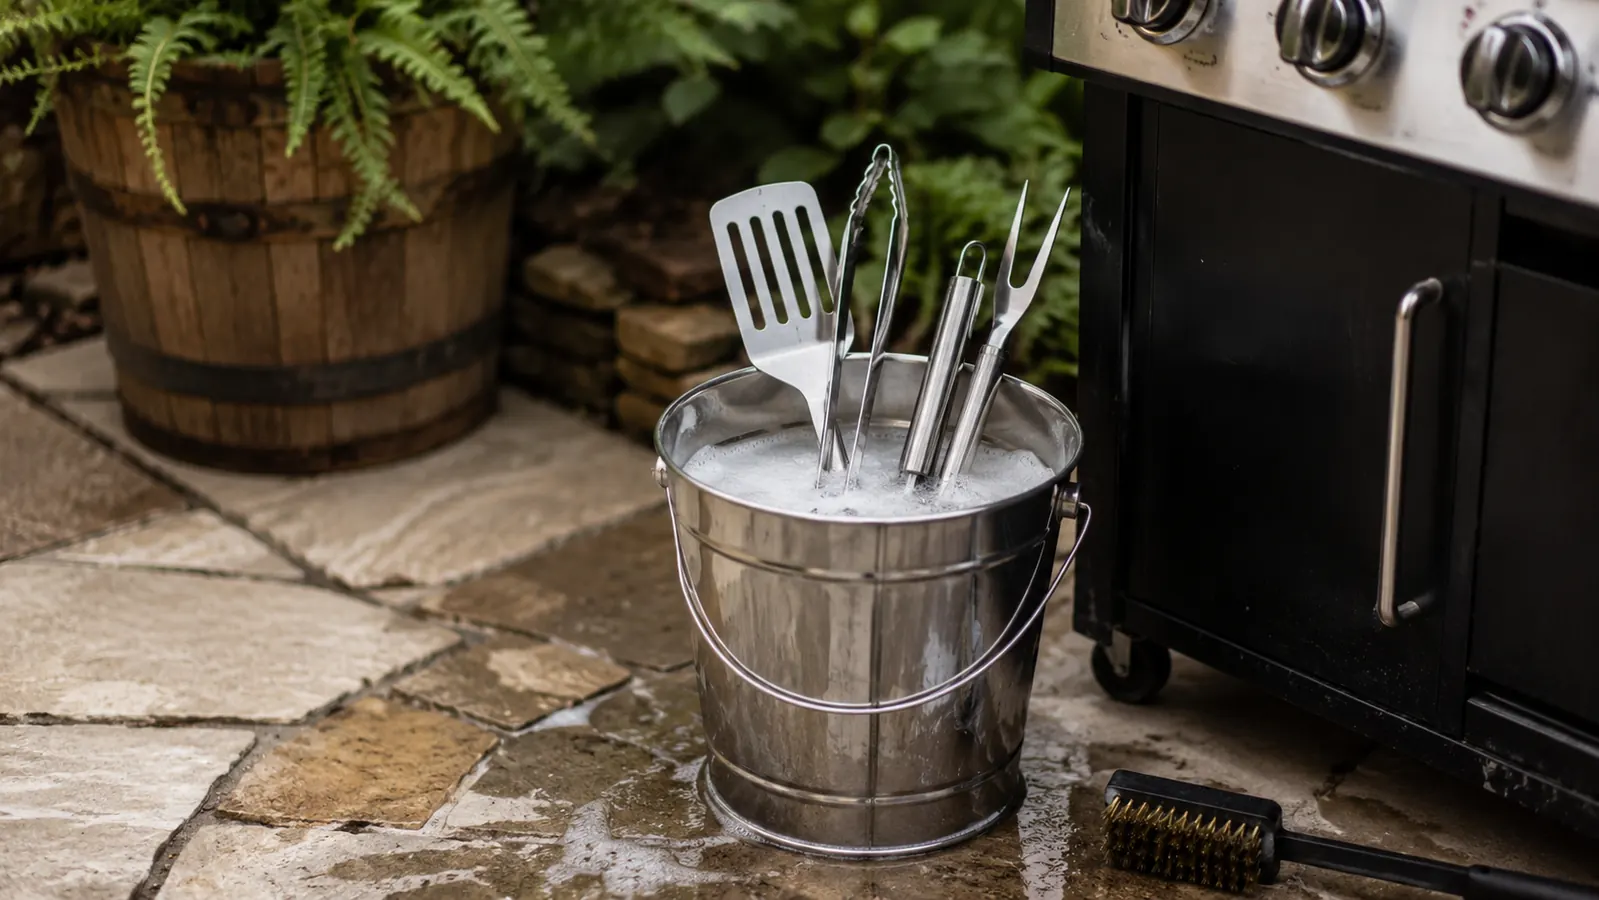
Step 2: Soak the Worst Offenders in Hot Soapy Water
Fill a bucket or your utility sink with the hottest tap water you can get and a few good squirts of dish soap. Submerge the tools that have baked-on grease or charred food residue and let them soak for at least ten minutes, longer if you cooked something sticky like ribs with a heavy glaze or a whole chicken that threw a lot of fat. The spatula and tongs always go in. The BBQ fork usually stays cleaner, but when I have been jabbing chicken thighs all session it goes in too.
Do not skip the soak and go straight to scrubbing. Dry scrubbing carbonized grease just scratches the surface without removing anything, and fine scratches in stainless give rust a foothold. The soak loosens everything so the brush does real work instead of grinding debris into the metal. Ten minutes in hot soapy water dissolves most of what would otherwise take twenty minutes of hard scrubbing.
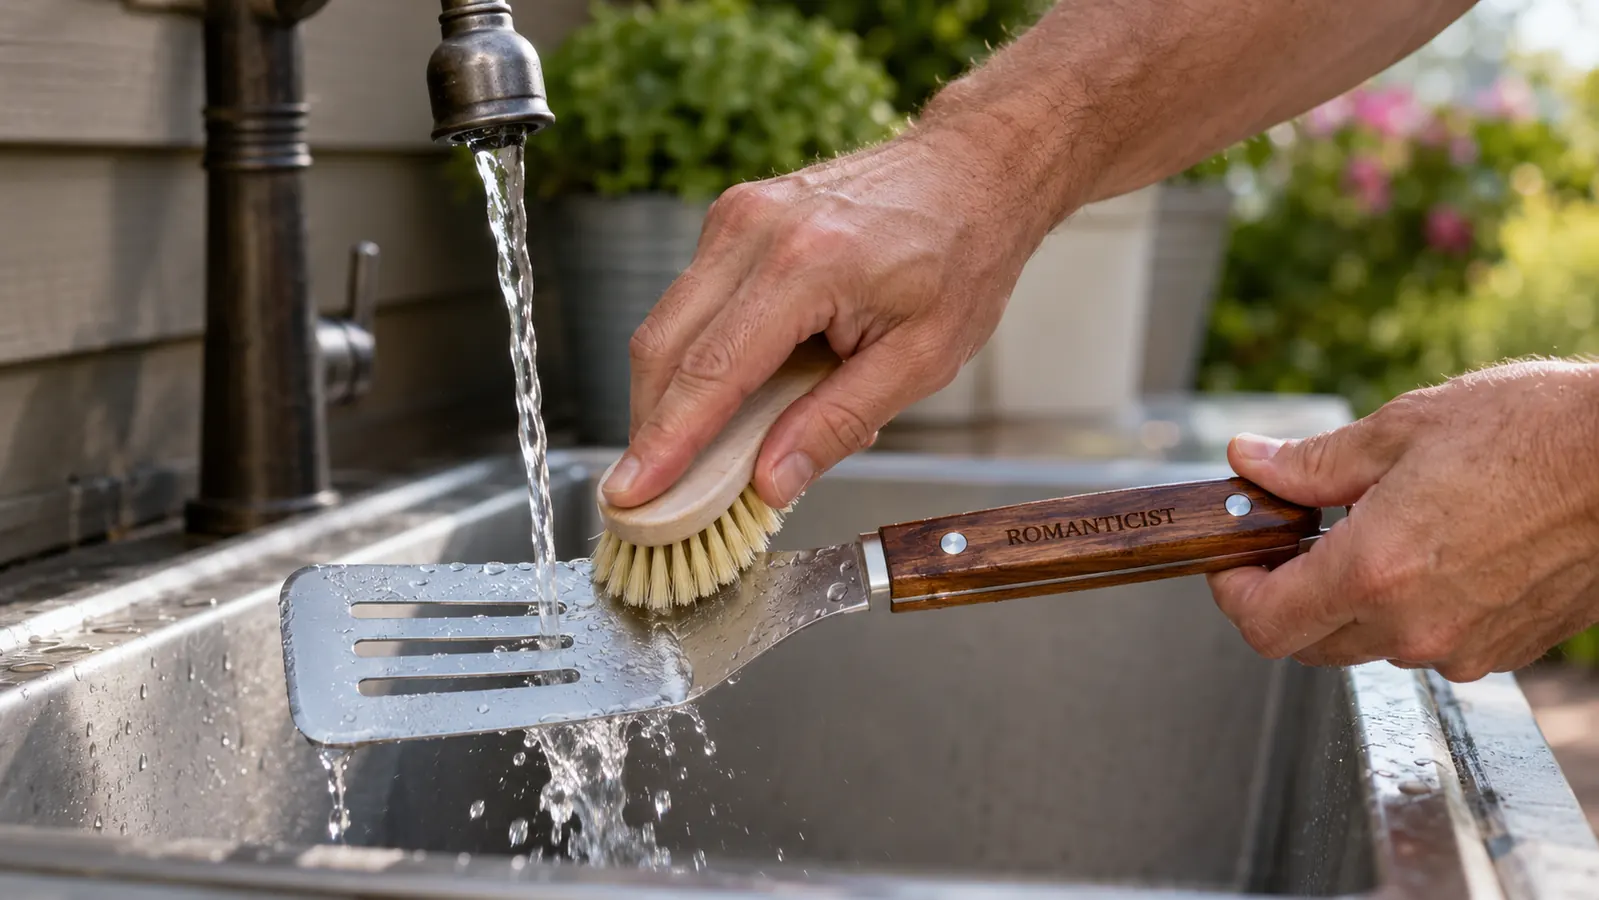
Step 3: Scrub With a Stiff Brush, Not Steel Wool
Pull the tools out of the soak one at a time and scrub with a stiff-bristle nylon brush or a dedicated grill brush with nylon bristles. I keep a separate brush just for tools because the one I use on the grates picks up carbon and old grease that I do not want transferring onto a clean spatula. Work along the grain of the stainless steel, which runs lengthwise down the blade and handle. Scrubbing with the grain avoids micro-scratches that show up as a dull, hazed finish over time.
Pay extra attention to the joints where the blade meets the handle, the inside of the tong loops, and any riveted areas. Grease loves to collect in the geometry, and that is where rust will start first. If something is still stuck after scrubbing, do not reach for steel wool. Instead, make a paste of baking soda and a few drops of dish soap, apply it to the stuck spot, and let it sit for five minutes. That mild abrasive paste cleans without scratching. Stainless steel and steel wool are a bad combination: steel wool leaves tiny iron particles embedded in the surface, and those particles rust even faster than bare metal.
Stainless does not rust on its own. It rusts when you trap moisture, salt, and grease against it and walk away. The cleaning is not optional if you want the tools to last.
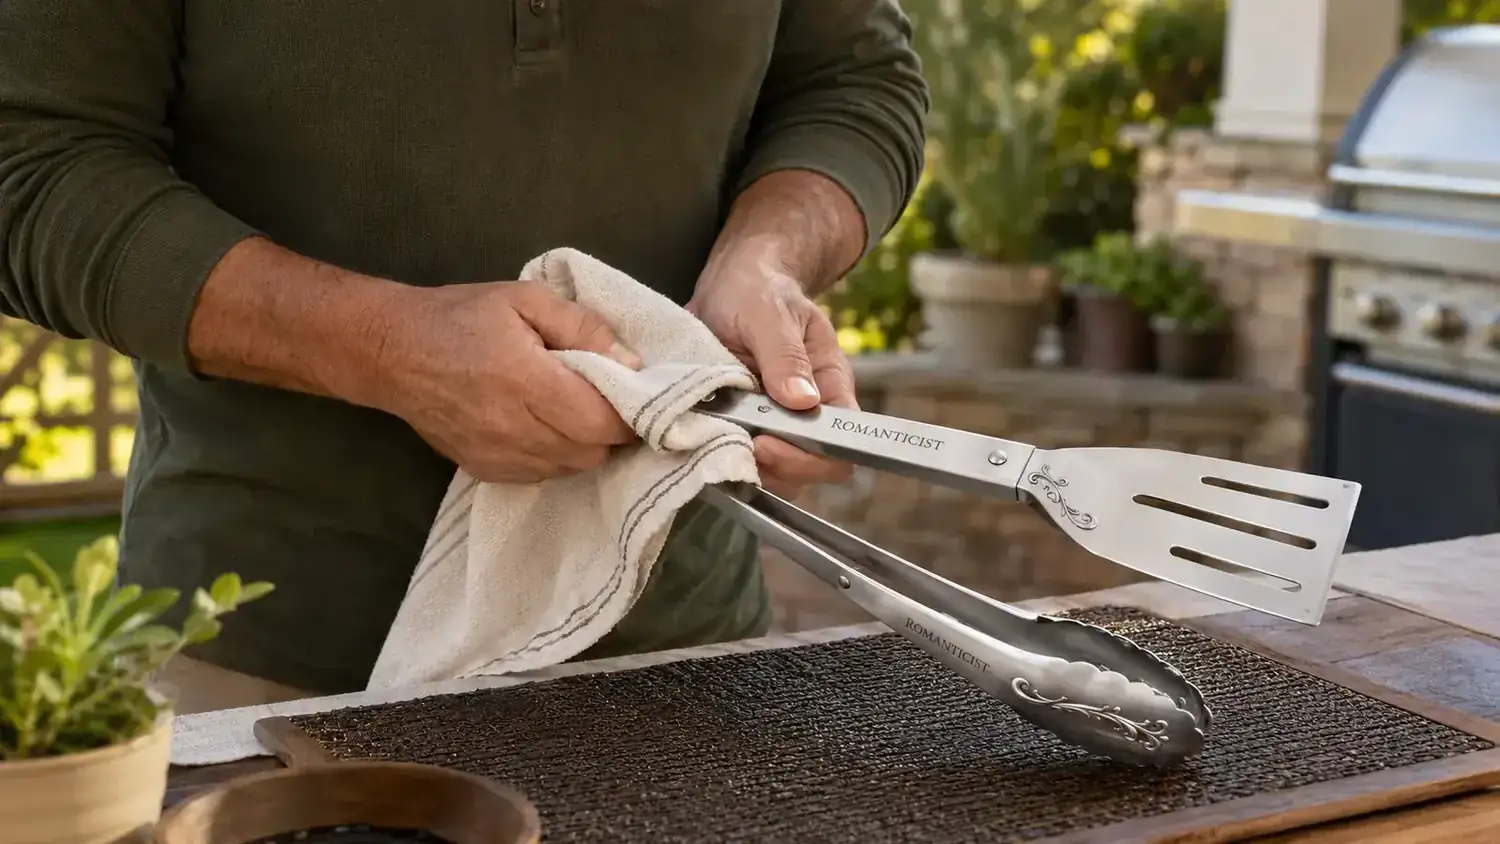
Step 4: Rinse Completely and Dry Immediately
Rinse each tool under running water until no soap film remains. Soap residue left to dry on stainless leaves a white haze that looks like damage but is just mineral deposits from the soap. It comes off easily if you catch it before it bakes on in the next cook, but it is much harder to remove once it has been sitting for weeks. A clean rinse takes twenty seconds per tool. Take the time.
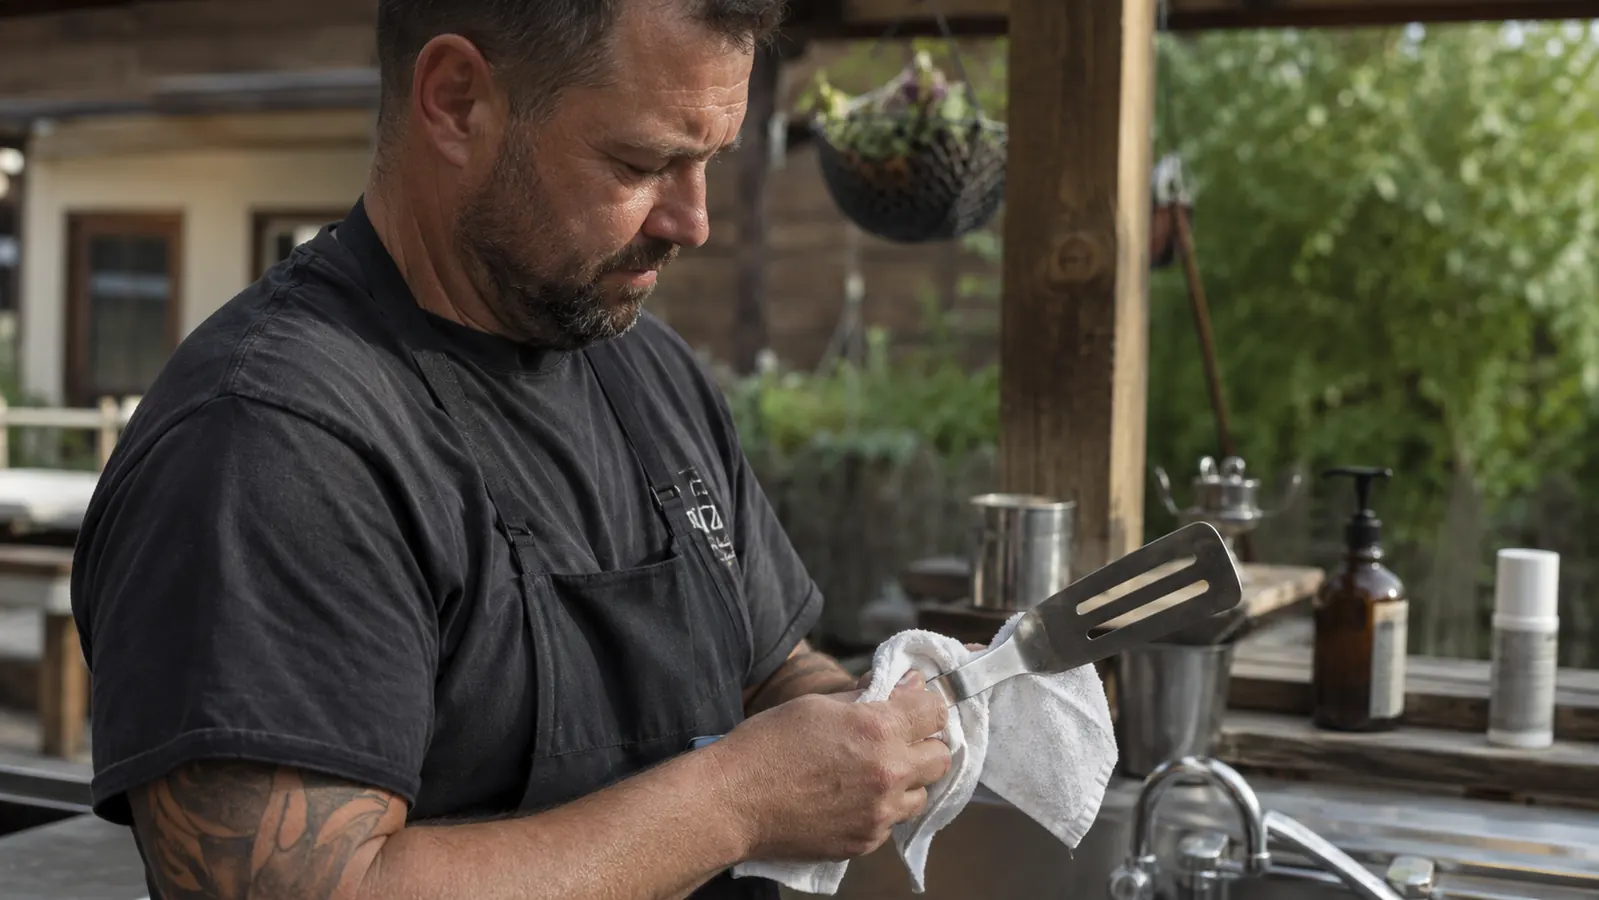
Then dry immediately. This is the step most people skip because the tools look fine after rinsing, and technically they are, for about ten minutes. Then water droplets start to evaporate and leave behind trace minerals, and if there are any microscopic pits or scratches in the surface, those minerals combined with ambient humidity are enough to start surface rust. I use a clean shop towel, the kind you can buy in bulk at any home improvement store. Wipe every surface, especially the rivets and joints. Do not air-dry stainless steel if you can help it.
Step 5: Apply a Light Coat of Food-Safe Oil Before Storing
This is the step nobody thinks to mention, and it makes the biggest difference over a full season. Once the tools are dry, wipe a very thin coat of food-safe mineral oil or a neutral cooking oil, like canola or vegetable oil, onto the stainless surfaces. You are not slathering them, just a thin film applied with a paper towel and buffed out. That oil layer sits between the steel and the air, blocking the moisture and oxygen that cause corrosion. Next time you grab the spatula for a cook, wipe it with a dry towel first and it is ready to go.
The ROMANTICIST set includes a zippered carry case, which is one of the things I appreciate about it. The tools go into a case that protects them from dust and humidity, not into a drawer where they bang around and scratch each other. If you are storing tools for the winter, add a slightly heavier oil coat before zipping them up. Pull them out in spring, wipe the oil off with a clean towel, and they look the same as when you put them away.
What Else Helps Keep Stainless Grill Tools in Good Shape
Beyond the five-step cleaning routine, a few habits make a noticeable difference over the long run. First, rinse tools under running water immediately after the cookout if you know you are not going to do a full clean that night. It takes thirty seconds and prevents grease from hardening into a cement-like layer by morning. A quick rinse is not a substitute for the soak-and-scrub, but it buys you a day without damage.
Second, keep acidic foods in mind. Tomato-based sauces, citrus marinades, and vinegar-heavy mop sauces are mildly corrosive to stainless if left sitting on the surface. After a session with a lot of sauce, give the tools a rinse before the acid has time to work on the metal. This matters most for the spatula head, which often sits flat in a pan of sauce while you baste. Even a thirty-second cold water rinse before you put anything away makes a real difference.
Third, do not store tools near the grill between sessions unless they are in a closed case. A grill sitting in the backyard radiates residual heat and releases trace amounts of combustion byproducts that can build up on nearby surfaces. The same goes for keeping tools out in direct sun for extended periods. Stainless handles heat well in use, but prolonged UV exposure can fade handle coatings and weaken any non-metal components like grips or springs on the tongs.
Fourth, if you ever see a small orange or brown spot appearing on a tool surface, treat it immediately rather than waiting. These early rust spots are not yet structural damage, they are surface contamination. A paste of cream of tartar and water applied for ten minutes, then scrubbed off with a nylon brush and rinsed clean, usually handles it. Left alone for a few weeks, that same spot can become a pit that no amount of surface treatment will fix.
And finally, check the rivets and joints at the start of each grilling season. Stainless rivets hold up well, but if water gets into a joint and freezes over winter, even quality hardware can loosen slightly. A quick inspection each spring takes two minutes and tells you whether anything needs to be addressed before the first cookout of the year.
When to Replace Instead of Restore
There is a point where cleaning cannot undo the damage. Deep pitting in the stainless surface, joints that flex when they should be rigid, tong springs that have lost tension, a spatula blade that has warped from repeated thermal shock or from being left lying on a hot grill grate. These are signs that the tool has reached the end of its useful life. No amount of cleaning or oiling fixes structural wear.
That is where starting with a quality set matters more than any cleaning routine. The ROMANTICIST 23-piece set is built from heavier-gauge stainless than the entry-level sets you find at grocery stores, which is why it takes longer to show those signs of wear. A tool set that starts out thin and light is going to reach that replacement point in one or two seasons no matter how well you clean it. One built heavier, with real rivets and solid handle construction, lasts years longer under the same conditions.
I have had friends who replace a cheap grill tool set every summer and consider that normal. Once they switch to something built properly and learn to clean it right, they are surprised how long the same tools last. If you have never thought much about cleaning your tools beyond a quick rinse, try the full five-step method for one month and see whether the condition of your tools changes. I think you will notice the difference quickly.
A set worth the five minutes it takes to clean it right
The ROMANTICIST 23-piece BBQ tool set gives you heavy-duty stainless spatula, long-handled tongs, fork, thermometer, and 19 more pieces in a carry case. 4.7 stars across 10,688 reviews. This is the set Dale cleans with the method above after every cookout.
Amazon Check Today's Price on Amazon -> →